
By SIRMA
Interested in making a synthwave track with vocals? All you need is the stock plugins in your DAW and Synthesizer V Studio 2.
With the rising popularity of commercial synthesizers, composers began to drift away from the norms of classical music and embraced sound design in the 1970s and on. Back then, synthesized scores were particularly in fashion in science fiction and horror films. Over time, they crossed over to video games and action movies, setting the stage for a new trend.
What started as a mission to produce synth-laden soundtracks has borne a beloved genre. Today, synthwave tracks provide the backdrop for retro-futuristic, nostalgia-infused settings with lyrics filled with imagery to depict the scene.
In this article, we’ll dive into the specifics of how to make synthwave music, complete with vocals from Dreamtonics’ new voice, Sylva.
What Is Synthwave Music?
Synthwave is a current subgenre of electronic music that’s influenced by the culture of the 1980s.
As synthesizers began to appear in pop and psychedelic rock music, they also found their way to the silver screen. Hybrid film scorers such as John Carpenter and Vangelis turned to sound design to provide eerie soundtracks for horror and sci-fi films.
Iconic synth-based scores like Carpenter’s Halloween, Vangelis’s Blade Runner, and Giorgio Moroder’s Midnight Express paved the way for TV series such as Miami Vice to adopt the trend. But it took some time for a new genre to bridge the gap between retro synth scores and synth-pop music.
Roughly two decades later, electro artists like Kavinsky and David Grellier (aka College) brought the retro-futuristic scores to the dance floor. In 2011, Drive, starring Ryan Gosling and scored by Cliff Martinez, was the film that became a major reference point for synthwave artists.
Today, the nostalgic, ethereal, and melancholically euphoric sounds of synthwave music are continuing their meteoric rise in movies, streaming platforms, and even social media. Viral Netflix series Stranger Things and chart-topping artist The Weeknd helped further the prominence of synthwave, bringing the niche style into the mainstream.
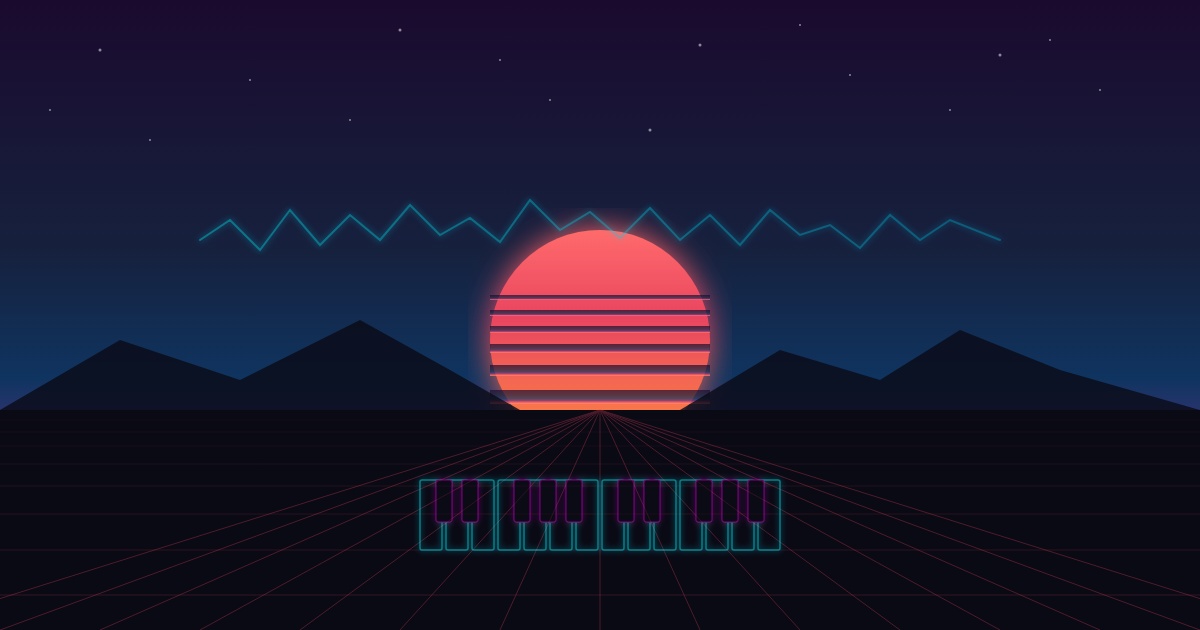
Synthwave Aesthetic
Beyond the sonic nature of synthwave, its visual aesthetic also plays a role in attracting fans. If you’ve seen neon-soaked digital art pieces popping up on Instagram or TikTok, paired with the grainy and fuzzy look of the VHS tracking static, you’re not the only one.
Music producers who produce and mix their tracks with digital tools look for tape saturation plugins to age their sound. Likewise, the synthwave aesthetic embraces this longing for the culture of the past as a whole. Pristine sounds and visuals don’t fit into this style without some grit and dust.
Popular Synthwave Artists
Pioneers like Kavinsky, David Grellier, and Carpenter Brut remain prominent, but there are several other synthwave artists diversifying the genre.
In the streaming era, synthwave band The Midnight garnered fans by capitalizing on the neon-soaked nostalgia concept. They even released a sci-fi graphic novel that pairs with their music.
Com Truise is another name carrying the torch with his instrumental tracks, while Tycho and M83 blend synthwave with other genres like ambient, post-rock, and shoegaze.
With a jolt of synth-pop, synthwave can sound more freeing, energizing, and exciting, as in the case of acts like CHVRCHES and Robyn.
In short, as a flexible microgenre of electronic music, synthwave leaves plenty of room for creativity, often absorbing multiple musical influences at once.
Synthwave Song Structure
Instrumental synthwave tracks can have varying song structures, but those that feature vocals share commonalities with pop music.
An intro section sets the mood, often followed by a verse and a chorus. A melodic synth lead steps into the spotlight in a bridge or post-chorus section through a call-and-response relationship with the vocal topline.
If you’re feeling a little lost, try analyzing the structure of your favorite synthwave song by counting the bars in each section. Then, create a template in your DAW to use as a starting point.
Common Synthwave Chord Progressions
Synthwave can easily be dressed in blissful or emotional chord progressions depending on the mood you’re going for. You can stay in a single major or minor key, or borrow chords from a different scale.
The key is to build loopable chord progressions that inspire melodies. From there, you can add variations with suspended or extended chord structures.
Here are a few examples of synthwave chord progressions to get you started:
- Am – F – C – G
- Em – Bm – A – G
- F#m – E – A – E
- Cm – Ab – Eb – Bb
You can play any of these chord progressions with a mellow synth pad to begin building your track.
Synthwave BPM and Rhythms
Unlike most other electronic dance music subgenres, synthwave doesn’t come with strict BPM and rhythm guidelines.
The typical synthwave tempo range is as wide as 80-120 bpm, and still, you can find plenty of exceptions that are more upbeat or downtempo.
If you’re looking to make a cinematic track, picking a slower BPM may be a good idea. For a pop-leaning synthwave song, stick with mid-tempo or stretch beyond the 120 bpm benchmark for an upbeat feel.
Whichever tempo you choose, the rhythm of the drums and bass should be your compass. Synthwave drums don’t have to follow a specific kick pattern. But if your time signature is 4/4, you’ll want to hear the snare at beats 2 and 4.
A four-on-the-floor groove paired with a 16th-note arpeggiated bass line is quite common in synthwave music. It’s also an accessible choice for beginner-level synthwave producers, since it’s easy to program each element following the grid in a DAW.
Once the drums and bass are in place, all the other synths can be programmed in a way that interacts with the groove. Sidechain compression, arpeggiated synth plucks, and tempo-synced audio effects all come in handy in achieving instrumental cohesion.
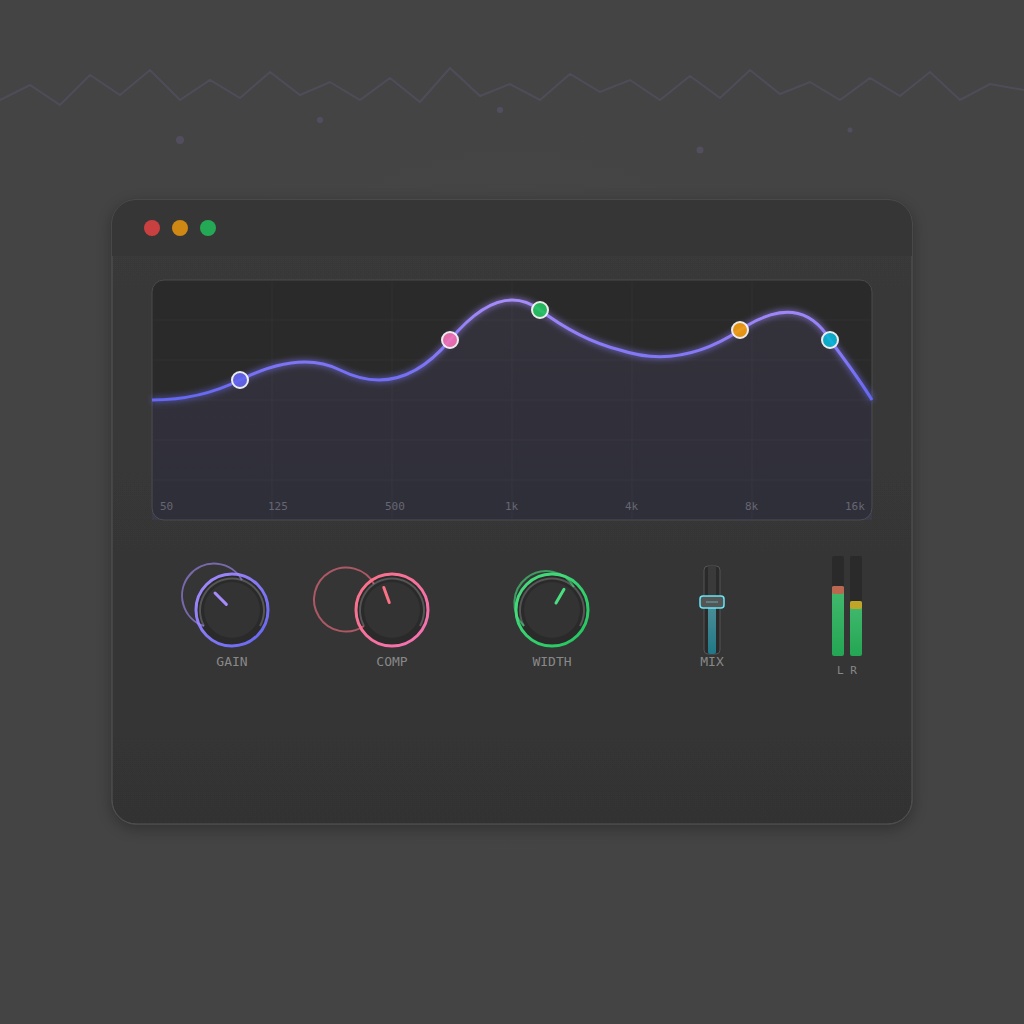
Synthwave Instruments and Plugins
Synthwave heavily relies on sampled instruments and synthesis. Curating the appropriate collection of sounds and effects is just as important as the building blocks of the arrangement.
Drums
Thick and punchy kicks, snares with gated reverb, and tight closed hi-hats make up the skeleton of the drums. TR-808 or TR-909 style claps, gated toms, and open hi-hats can help add variation to the beat. Analog drum machines or their digital emulations, like Roland’s TR-707 and LinnDrum are good choices to build your own kit.
Bass
A sine wave sub topped with a combination of sawtooth and square waves in a single synthesizer will do. The trick is to get the attack, decay, sustain, and release times right to achieve the perfect bass plucks for tempo-synced, tight arpeggios. Then dial in the low-pass filter to balance warmth and brightness based on the vibe of your track.
Synth Pads
You can go for dreamy synth brass and string patches that are low-passed and slightly detuned with a healthy dose of chorus. But a low-passed sawtooth synth pad with a slow attack and release time can also provide a solid base to build on.
Synth Leads
Compared to the bass and pads, the synth lead can be brighter, but it still needs to sound lush to fit in. You want the attack to be soft but still present, with the tail of each note fading naturally.
Synth Arpeggios
Arpeggiated synth plucks are usually sprinkled on top to infuse a standout section like the chorus or post-chorus with renewed energy. It’s like creating a bass pluck — only pitched up several octaves with a gentler low-pass filter.
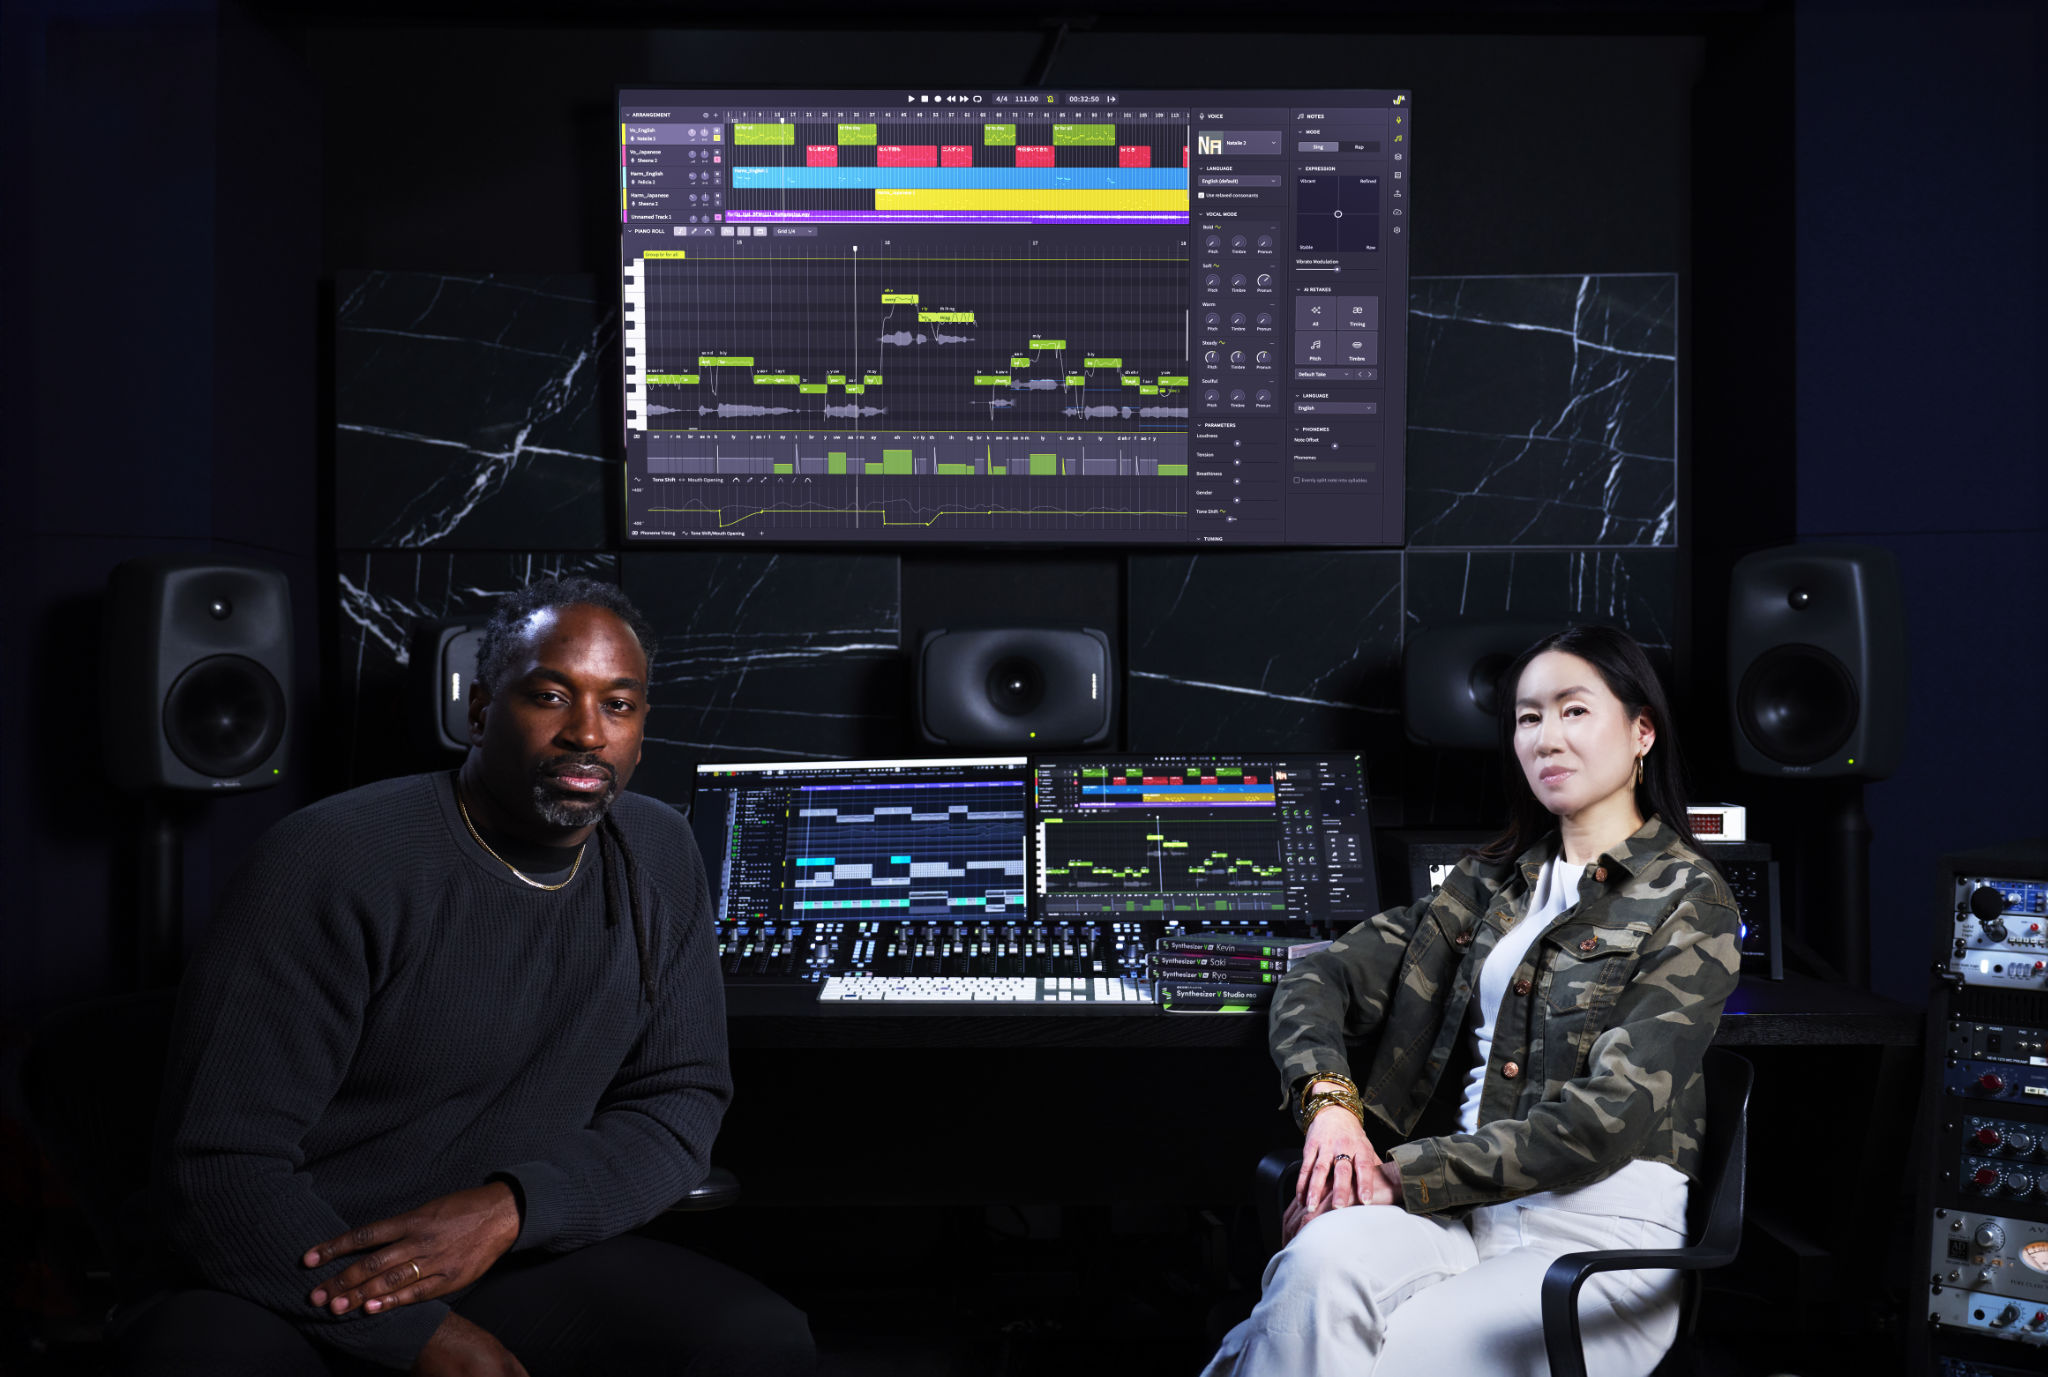
Synthesizer V Studio 2
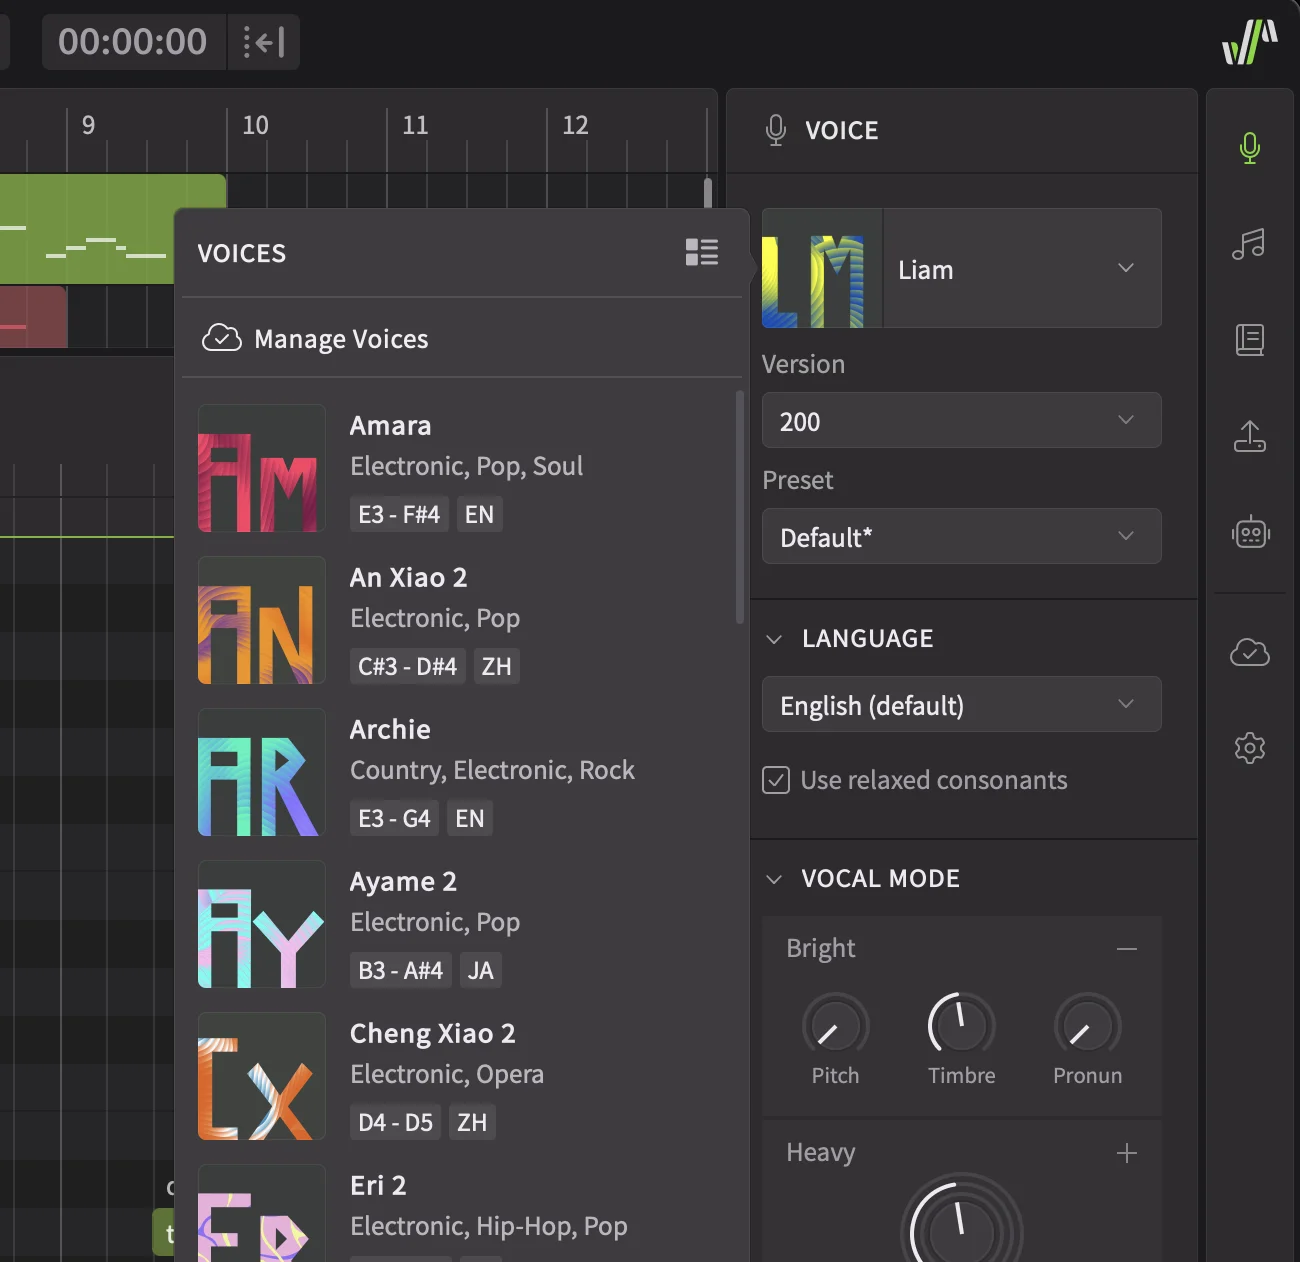
Not everyone can sing engaging toplines on a synthwave track. Luckily, there are plenty of Synthesizer V Studio 2 voices to choose from.
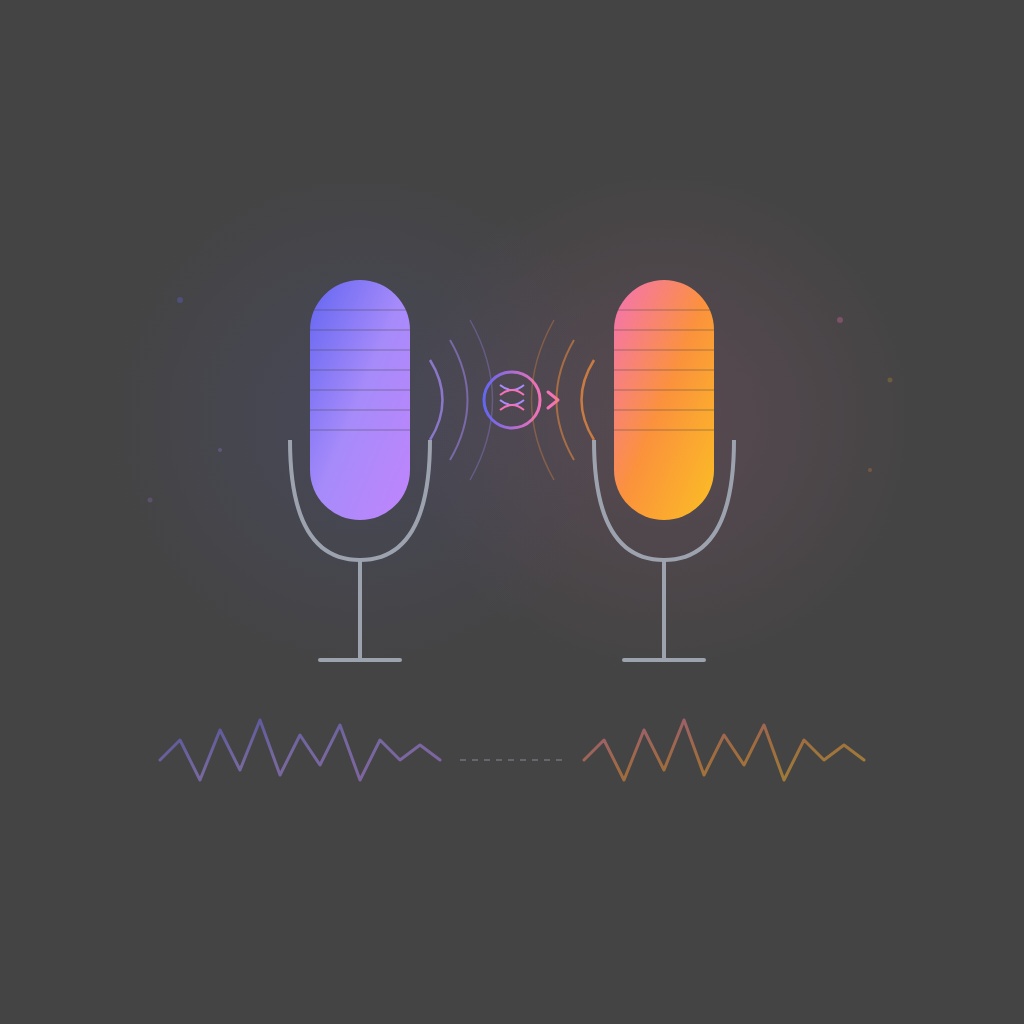
While the ethereal yet soulful tone of Sylva is my choice for this tutorial, you can also go for:
SOLARIA: A strong female voice with Solid and Power vocal modes that allow her to cut through dense synths and thick drum sounds.
KEVIN: A clear male voice with a breathy quality that mimics the smooth vocal style of the 1980s. He can sing operatically when needed, but handles pop-oriented tunes just as well.
ASTERIAN: A moody male voice with a dark atmosphere that fits mysterious and melancholic soundscapes nicely.
SAROS: An emotional male voice with an alternative edge that settles into retro styles of all kinds.
How to Make Your Own Synthwave Track
Now that you have some general knowledge about the production elements of synthwave, let’s make a track together.
Step 1: Start with the Basics
Following the instructions from earlier, I picked a tempo, key, and a looping chord progression to work with.
Tempo: 101 bpm
Key: D minor / D Dorian
Chords: Dm – Am – G – Gm
To build the synth pad, I chose the stock plugin Wavetable in Ableton Live 12. In both Oscillator 1 and Oscillator 2, I went with one of the Basic Shapes: the sawtooth waveform. At first, they sounded abrasive. But I detuned Oscillator 2 by 12 cents, which instantly created that classic 80s sound analog synths like Roland’s JUNO and JUPITER are known for. To enhance this effect even more, I turned Unison on and selected Classic mode. I settled on 4 voices and kept the amount at 20%.
These adjustments helped, but my synth pad was still too bright. To remedy this, I engaged the low-pass (LP24) filter in Clean mode. I brought the cutoff frequency down to 1.11 kHz.
Synthwave isn’t known for its complex harmonic rhythms. Still, I knew that once the groove section came in, the synth pad would sound too dull. So, to add movement, I assigned LFO 1 to the Amp, and incorporated a 1/16 note sine wave pattern, creating a pumping effect in the volume of the pad.
To make the pad even bigger and wider, I inserted the stock audio effect, Chorus-Ensemble, on the channel. After tweaking the settings, I went with Ensemble in 100% Width mode, bringing the Warmth to 3.2% and Dry/Wet knob to 35%.
Using the stock reverb and delay plugins, the A and B return channels come with in Ableton Live, I experimented with their settings for a bouncy and airy sonic quality. Finally, it was time to play with alternate voicings and subtle variations in the chord progressions.
Here’s the result.
Step 2: Construct the Drums
Between the metronome and the rhythm of the synth pad, I now had enough information to build the drums.
I grabbed an empty Drum Rack, so that I could pick individual samples from Ableton Live’s sound collection. Knowing that TR-707 would be a good starting point, I searched for 707 to find my kick, snare, clap, and hi-hat samples. Then, I grabbed another 808 clap and a pair of 80s-style toms for accents and fills.
Some of the samples sounded pretty good on their own, but others required some processing. For example, I pitched the Snare 707 Variation sample a semitone up and made it denser and wetter with a Gated Snare reverb preset in Ableton. The Hihat-707 sample sounded too thick, which is why I cleaned up the low end with a stock EQ plugin. The toms also needed some gated reverb and EQ adjustments — and to make them cut through the mix, I also added a touch of saturation.
All of these elements came together as I experimented with different grooves before finally landing on a quarter-note kick pattern paired with 8th-note closed hi-hats. My ears expected the snare at every second and fourth beat of each measure. But I also wanted to break away from the predictability of this common beat structure.
First, I added some accents with the claps. Then, I penciled in a single open hi-hat every few bars. Later, a simple tom fill marked the end of each 8-bar-long phrase.
Knowing that the reverb return channel had a low-cut EQ for mud prevention, I sent the entire Drum Rack to it for atmospheric cohesion.
Here’s how my drums sounded in the end.
Step 3: Lay Down the Bass
Reaching for the Wavetable synth once again, I dialed in a sawtooth waveform for Oscillator 1 and a square waveform for Oscillator 2. I also turned the Sub button on this time, to accompany this duo with a sine wave playing an octave below their register.
Taking a heavy-handed approach with the low-pass filter (LP24), I brought the cutoff frequency all the way down to 202 Hz. But I had plans to add some movement to this filter by assigning Envelope 2 to the filter cutoff, marked as Filter 1 Freq in the Matrix. Determining the amount of the blooming filter effect has a direct relationship with the way the bass behaves. So, before moving further, I made some adjustments in the ADSR settings of the Amp as well as Env 2 to create an appropriate pluck synth bass for my track.
After recording sustained root notes with some passing tones, I fixed the piano roll grid to 16th notes. Then, I selected all the bass notes, right-clicked on the piano roll, and chose the Chop Notes on Grid option from the menu. This way, I could easily divide long notes into automatically quantized 16th notes. After some EQ and compression, my bass began to fit in with the synth pad and drums. But something was still lacking in the groove: a subtle swing feel.
To loosen the robotic nature of the instrumental, I dove into Ableton’s Grooves library and picked the Swing MPC 3000 16ths 57 preset. I brought the timing to 25% and Velocity to 20% to humanize the bass pattern. But now, this setting was automatically applied to all the MIDI tracks in my session, creating a funkier groove than I expected. To create the engaging dynamic between the drums and the synths that I was looking for, I turned the Groove off for the Drum Rack, while keeping it on for the bass and the pad.
Let’s hear the bass on its own first, followed by all three layers together.
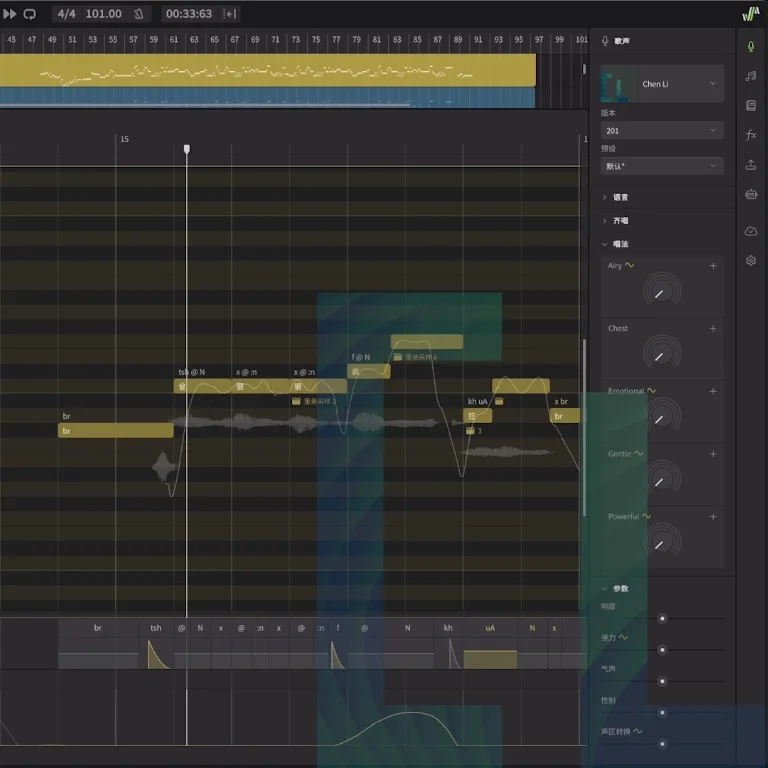
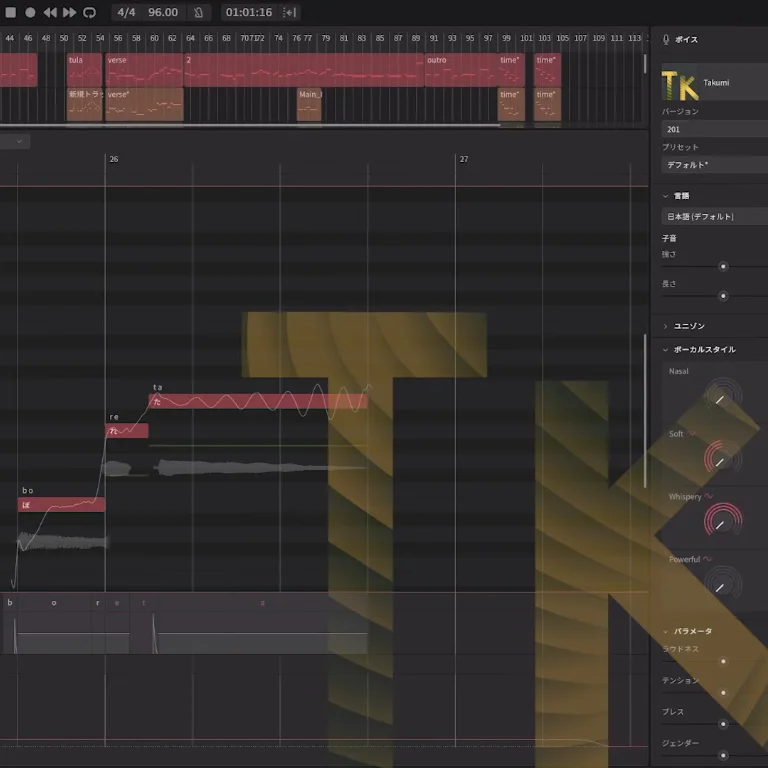
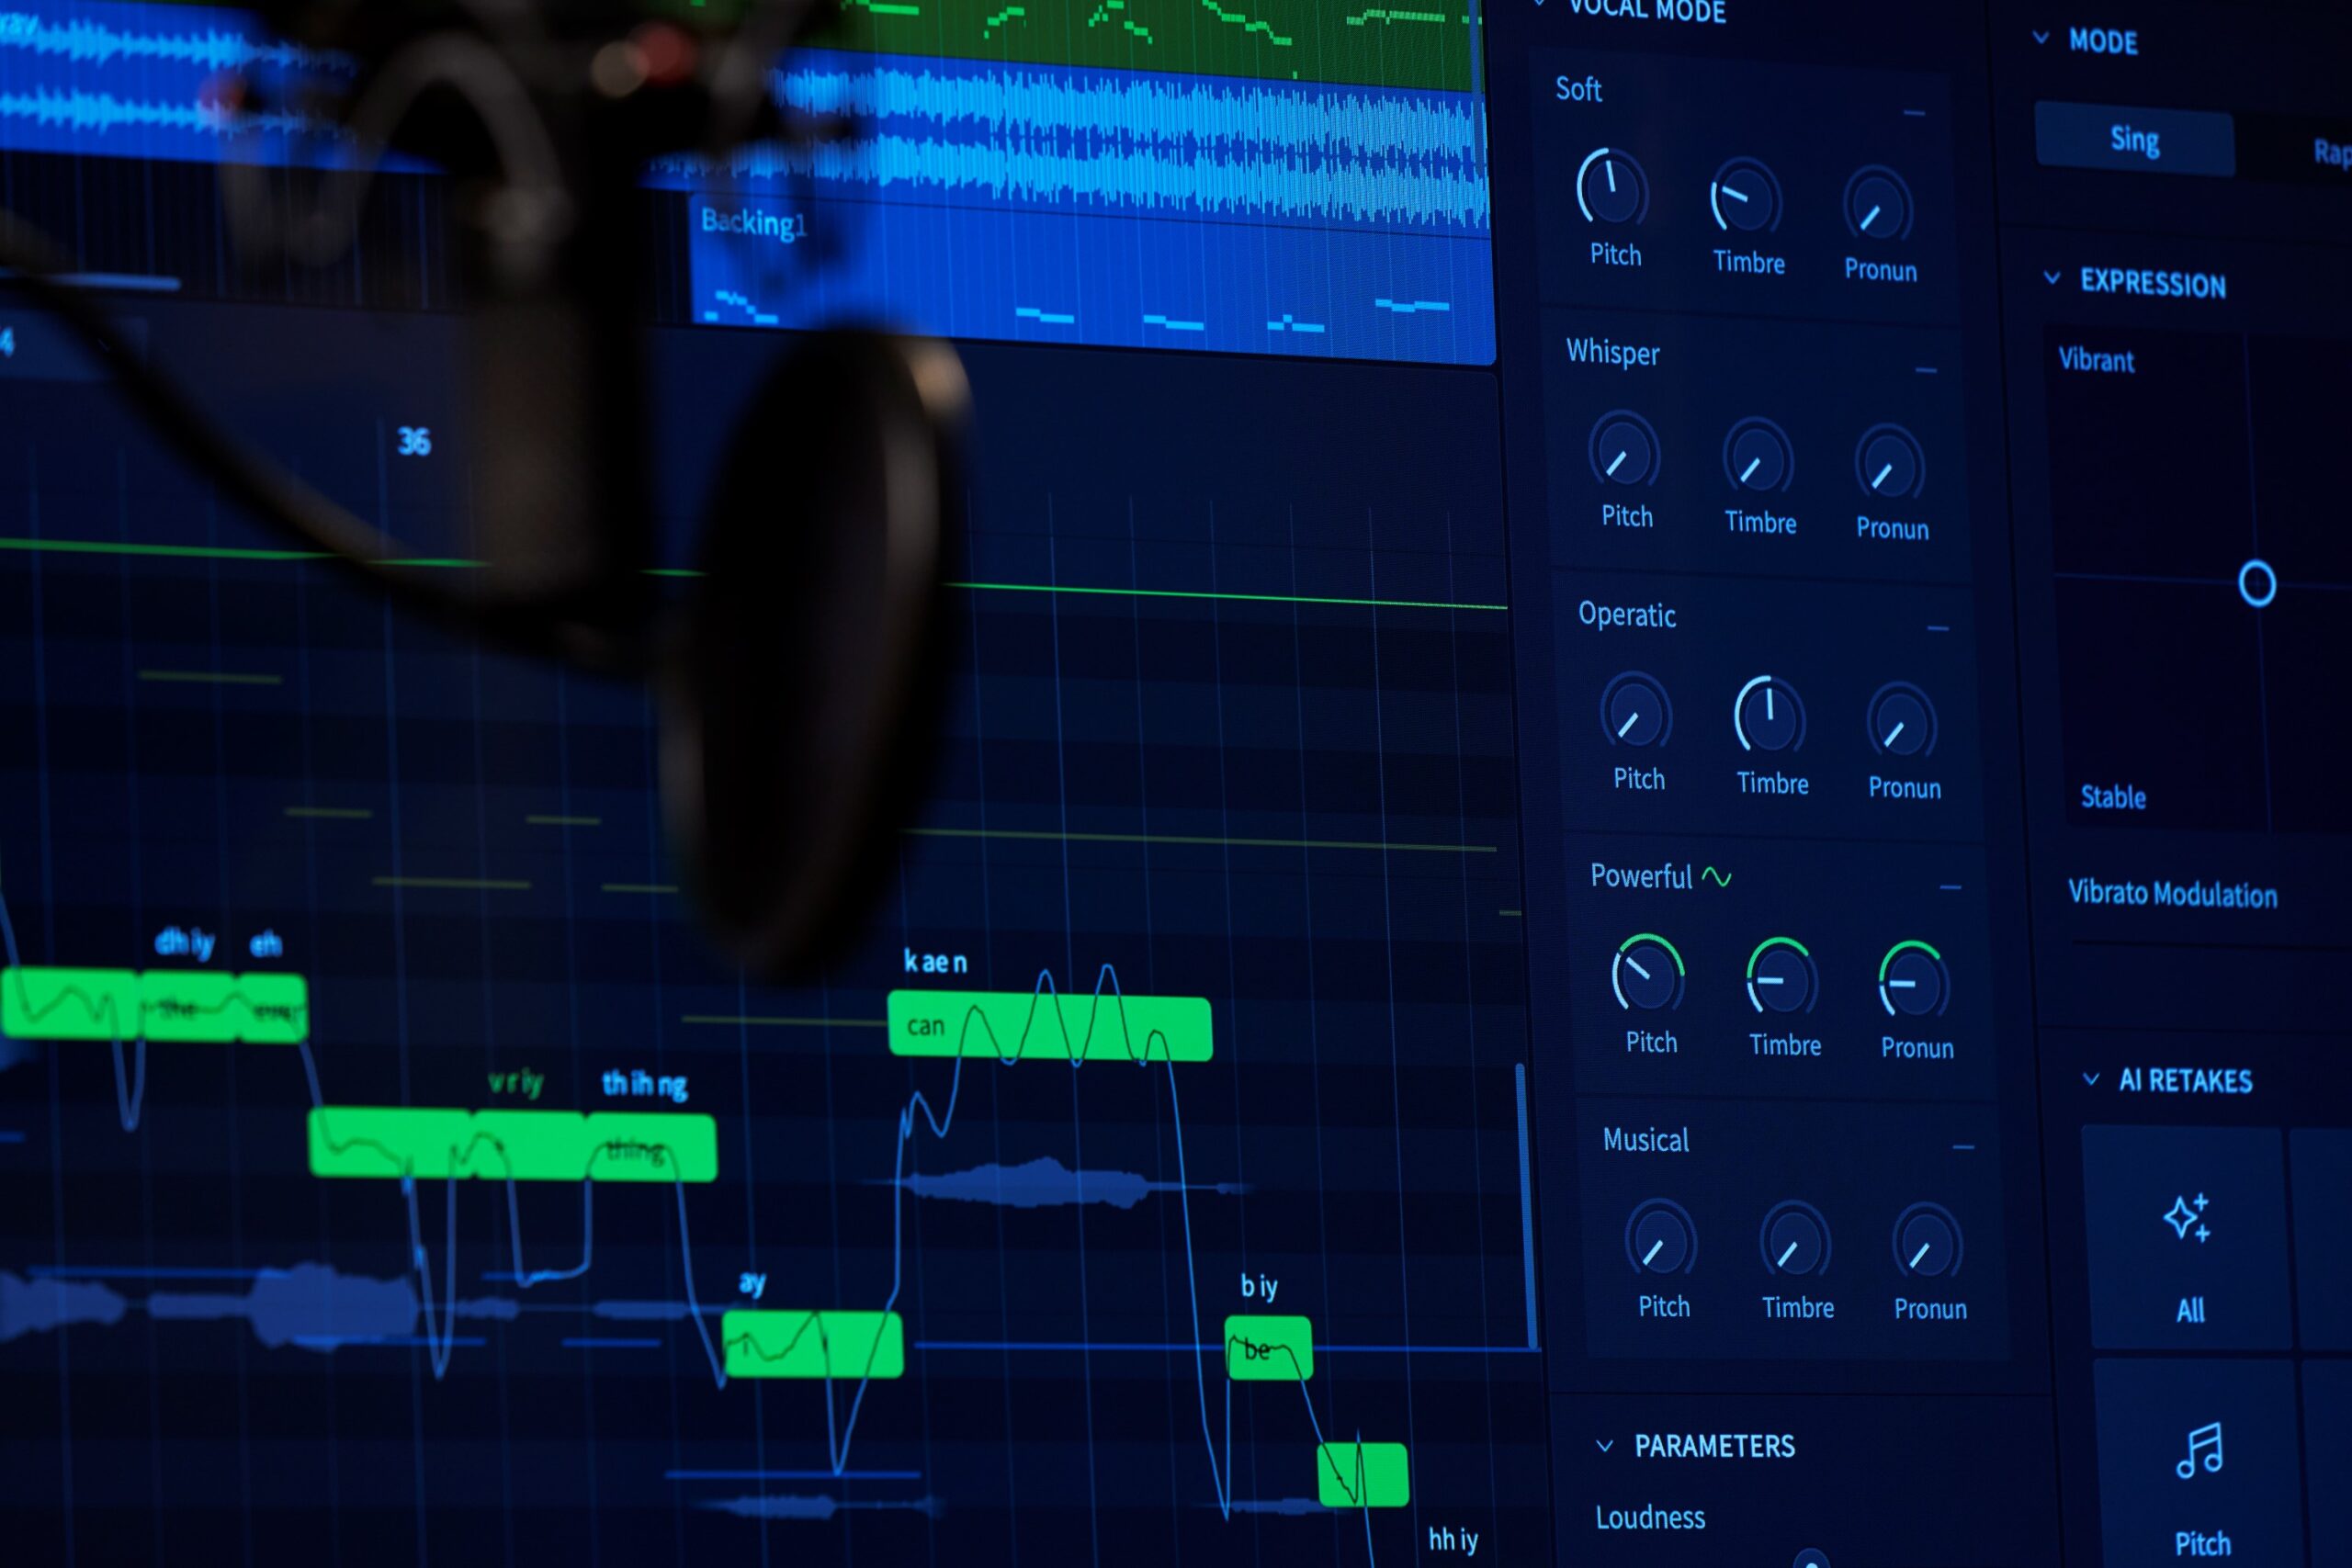
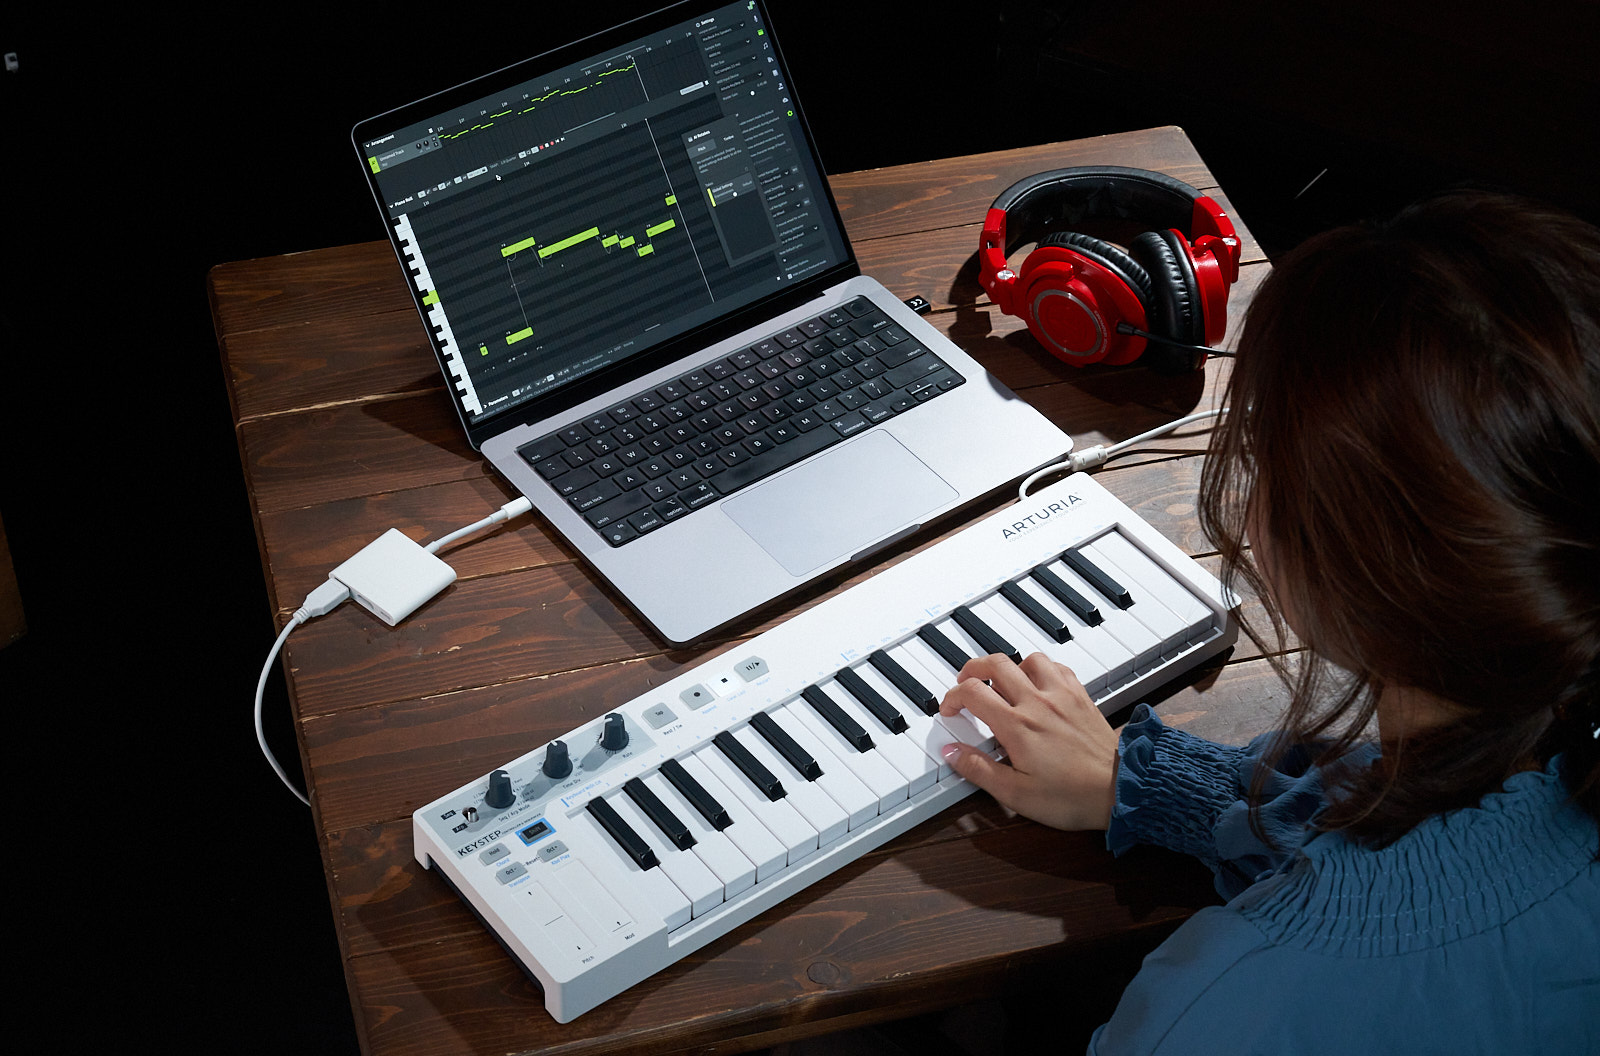
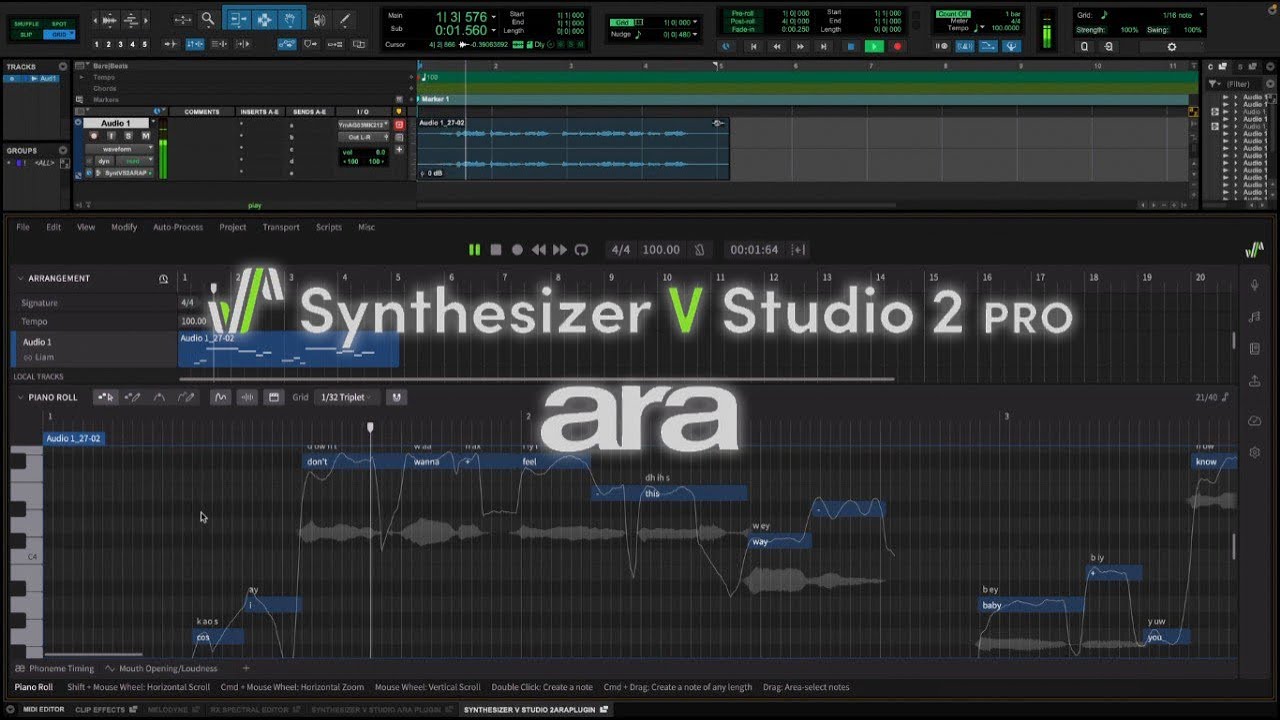
Step 4: Add Vocals with Sylva in Synthesizer V
At this point, I had enough material to create the topline of my track using the new female voice, Sylva, in Synthesizer V Studio 2.
I enjoy penciling in the MIDI notes and lyrics as I go, auditioning each phrase with the backing track at every step.
My goal was to create a melodically interesting yet simple topline to support the cinematic vibe of the instrumental. Playing with tension and release and landing on chord tones at the end of each line helped me achieve a satisfying and memorable vocal melody.
To come up with the lyrics, I focused on a feeling rather than diving into the full details of a story. Keeping the scene abstract, I painted a picture with my words, depicting a nighttime drive in the summer. Since nostalgia is a big component of the synthwave aesthetic, I capitalized on the longing for a lost love as my core theme.
Sylva made it easy to express the emotions I had in mind, switching fluidly and intuitively between chest voice and head voice. I intentionally misspelled some lyrics to get the correct pronunciation and turned to AI Retakes for some notes for a more emotive performance. And though I occasionally decreased or increased the amount of Vibrato modulation in certain notes, I generally didn’t feel the need to micromanage Sylva. Instead, I enhanced her tone by pushing the Deep vocal mode to 20%, while bringing the Soulful knob up to 45%.
Using the FX panel in Synthesizer V, I brightened and compressed Sylva’s vocals to help her mesh better with the dense instrumental. I also turned the Reverb on, keeping it at Clean and 30% wet. Knowing that the reverb and delay return channels in my session played a role in achieving cohesion in my mix, I also made sure that Sylva benefited from the same effects.
Sylva sounded good on her own, but I needed an extra ounce of energy in the chorus section of the song.
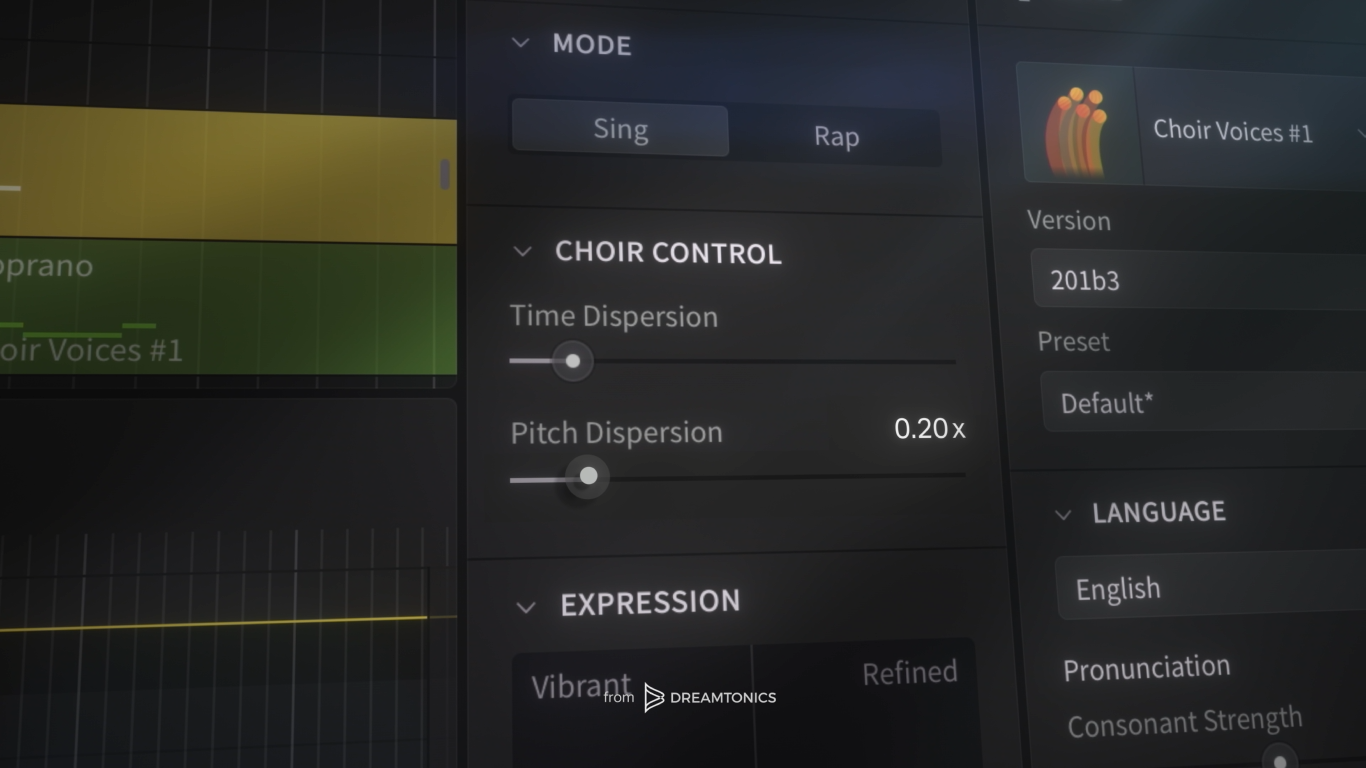
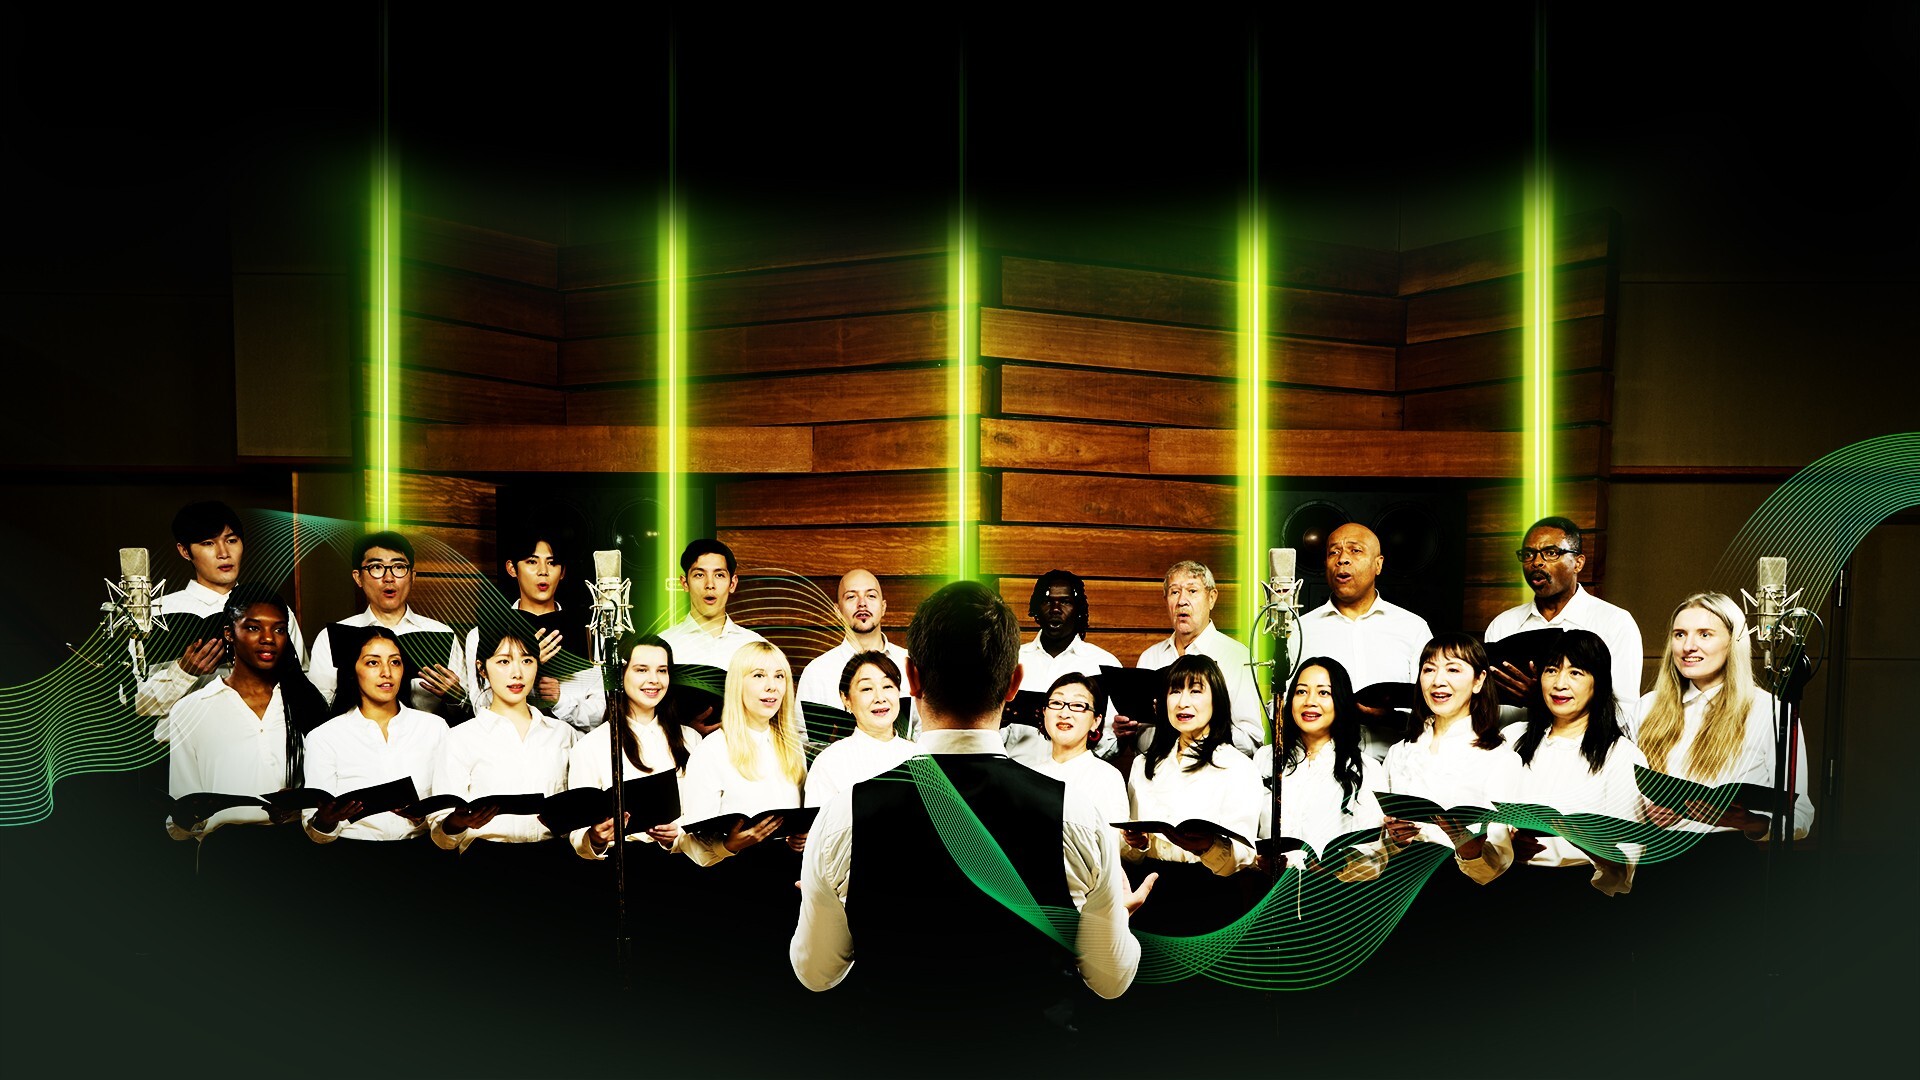
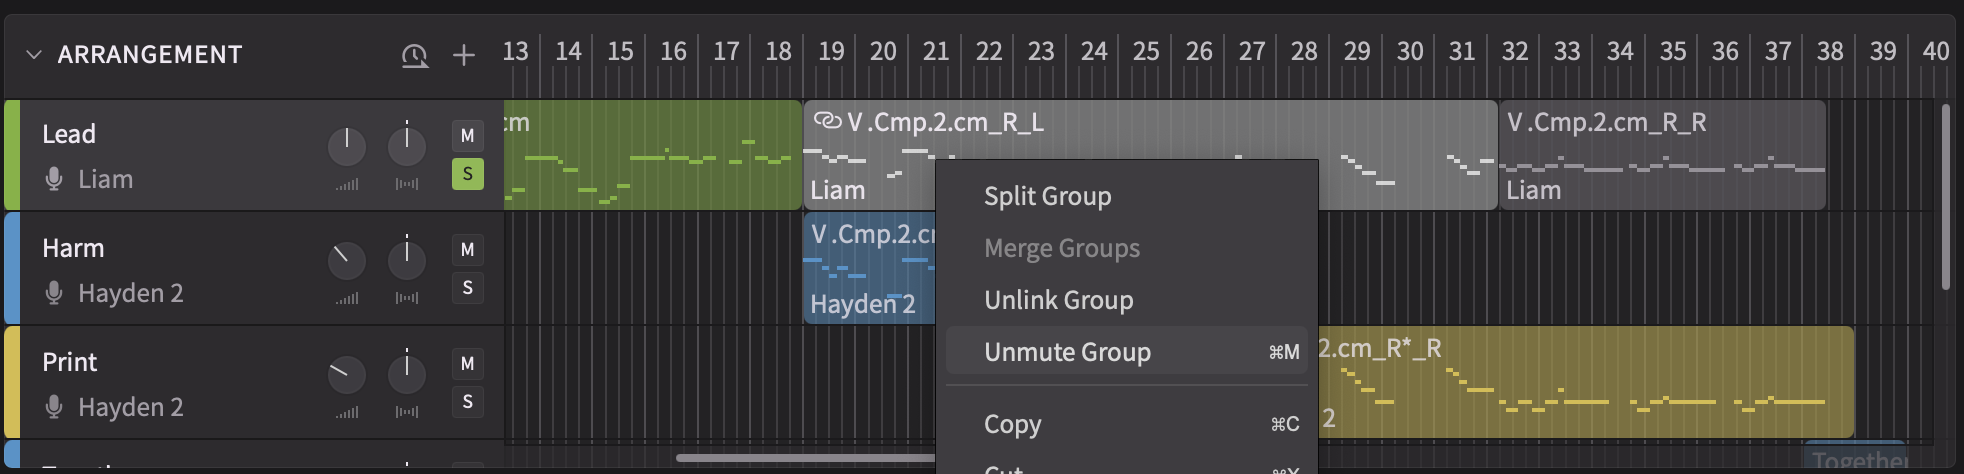
First, I duplicated Sylva’s track to create double layers to thicken her vocal sound. Under the Unison module, I adjusted the number of singers to four, while increasing the space between them up to 1.60 m for a wide sound. Then, on another track, I created a vocal pattern harmonizing with the lead melody.
For the harmony track, too, I chose to go with four singers and increased the space between them even more for a satisfying vocal blend. To keep the lead vocal part front and center, I lowered the volume of the background vocals. I also compressed both background vocal tracks and processed them with some reverb. But, unlike the lead vocal, I used the EQ in Synthesizer V to darken their sound to help the lead vocal shine even more.
Here is how all the vocals sound together, with additional reverb and delay from Ableton’s stock plugins.
Step 5: More Synths
After producing the vocals, it was time to revisit the rest of the arrangement.
First, to make each section more exciting, I added arpeggiated chords, using Ableton’s stock Analog synth and Arpeggiator MIDI effects. I started by combining two sawtooth waveforms and detuning them slightly to get closer to that coveted 80s vibe. On each oscillator, I applied varying settings of the low-pass filter, and pitched Oscillator 2 an octave down for a richer sound. After engaging the Vibrato setting for a touch of modulation, I processed my arpeggiated synth with a series of stock effects like Saturator for color, Auto Filter for movement, and a shimmery Hybrid Reverb for a dreamy and airy atmosphere.
But no synthwave track is complete without a synth lead. I reached for the stock Analog synth plugin once again, this time combining a sawtooth wave with a square one. Following the playbook, I detuned and filtered each oscillator, while also adding a bit of vibrato and glide. I paid attention to the blend between the two waveforms, adjusting their volumes and panning, as well as ADSR settings. After that, I didn’t need much else — just a touch of Ensemble effect and an EQ to smooth out the edges.
I sent both synths to the same reverb and delay channels as the rest of the tracks in my session. Let’s hear how each new element sounds on its own and with the rest of the instruments.
Conclusion
Despite its expansive sonics, it doesn’t take a crowded session to make synthwave music. The most important part of the process is choosing or designing the appropriate sounds and establishing a healthy relationship between them.
For example, to strengthen that relationship even more, I sidechained the bass and the synth pad to the kick drum with a compressor. This way, the core synth elements in the low and midrange had even more movement than before.
Although various textural and compositional details can make this song a lot more interesting, the bare bones are fully there. Let’s hear them all in action.
As you can see, all it took was some stock plugins and a Synthesizer V voice, like Sylva, to create this track. Even if you’re new to Synthesizer V, you can try it for seven days and install Sylva today to give this experiment a shot. And, if you enjoy the results, you have the option to purchase multiple voices at a time at a discounted price.
Try Synthesizer V Studio 2 and install Sylva today!